You step into the backyard and imagine it,a tiny doorway, a sloped roof, maybe a flower box under the window. Laughter echoes from inside, and for a moment, you see it through your child’s eyes: a castle, a kitchen, a secret clubhouse. That’s the magic of a playhouse,and building one yourself makes it even more special.
Sure, it might feel intimidating at first. You’re not a professional builder, and you’ve got a weekend (maybe two) and a handful of tools. But here’s the thing: you don’t need a degree in carpentry to pull this off. Just a little planning, some simple materials, and a whole lot of heart.
This isn’t about perfection. It’s about creating a space where imagination lives.
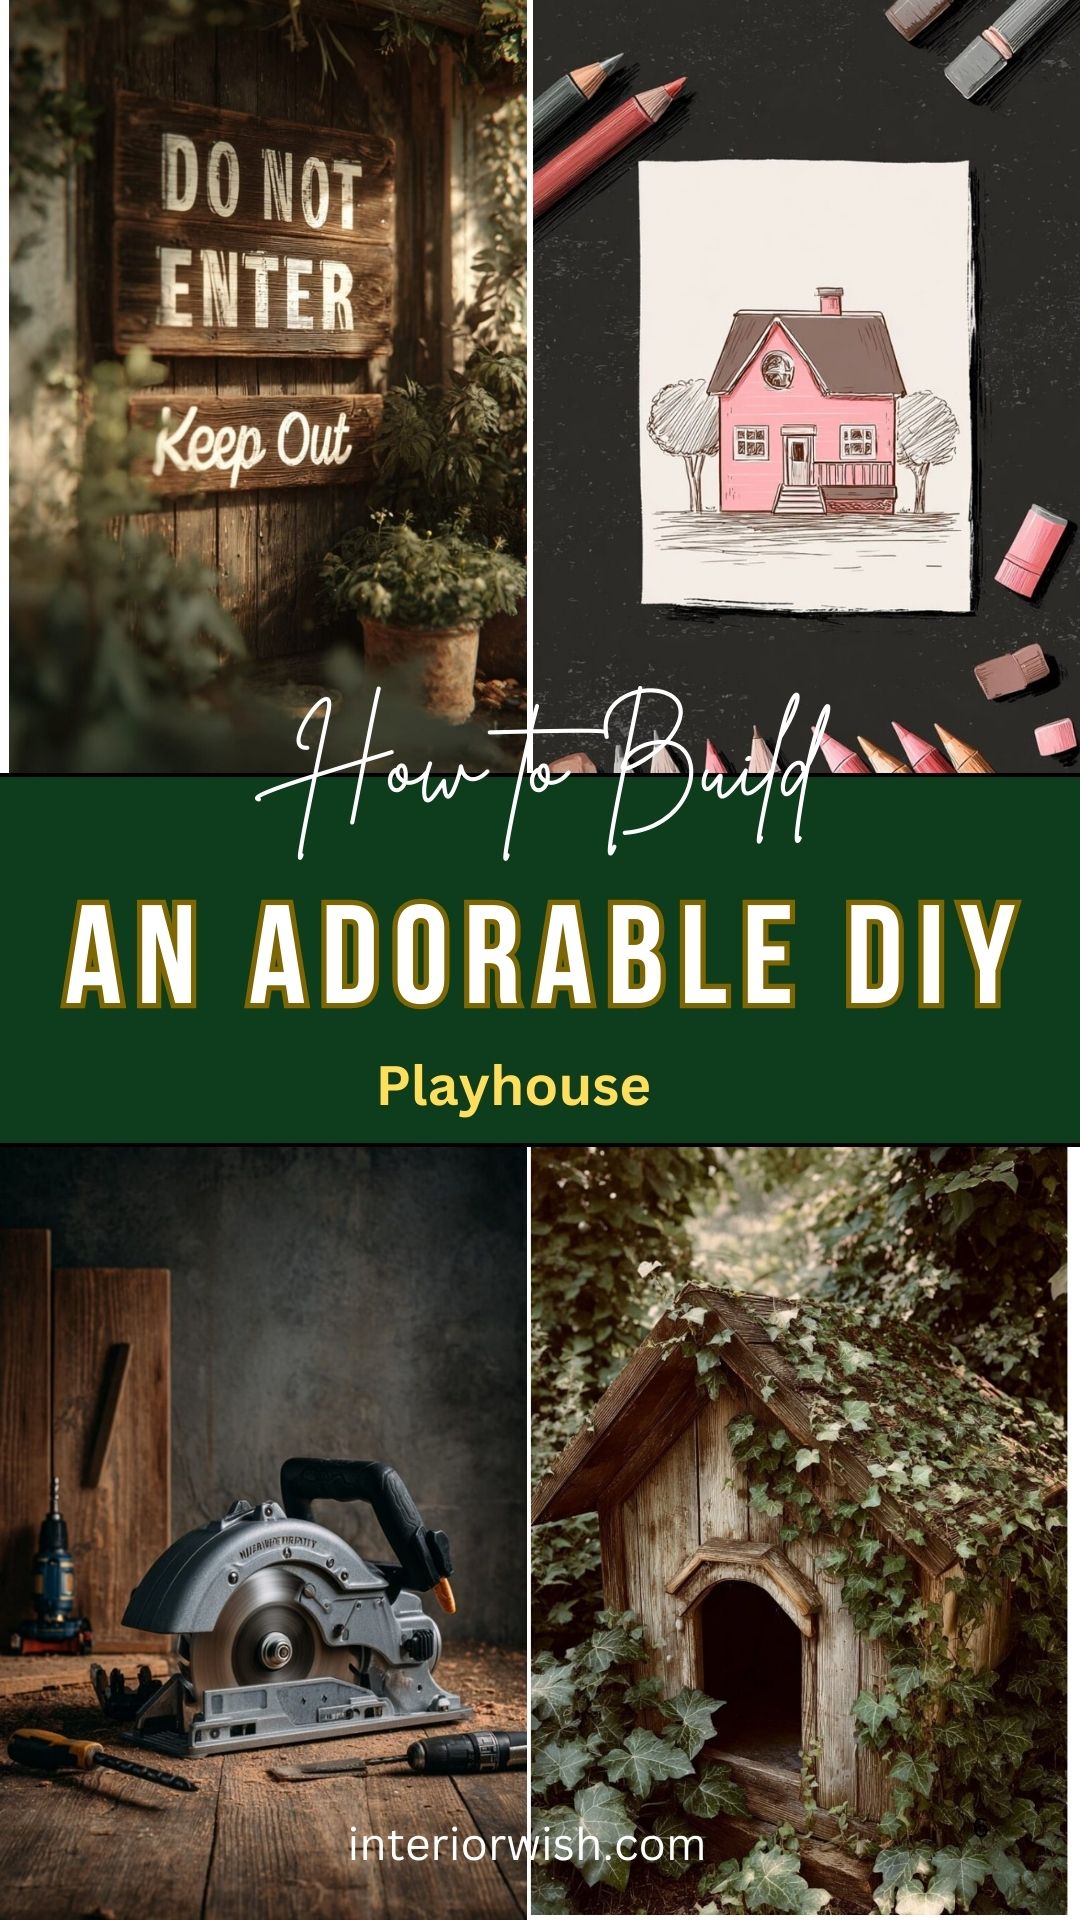
Coming up: a step-by-step guide to building an adorable DIY playhouse,one that’s sturdy, charming, and completely doable. Whether you go rustic, modern, or fairytale-inspired, this is the project that turns your backyard into a childhood memory in the making.
Step 1: Plan Your Playhouse Design
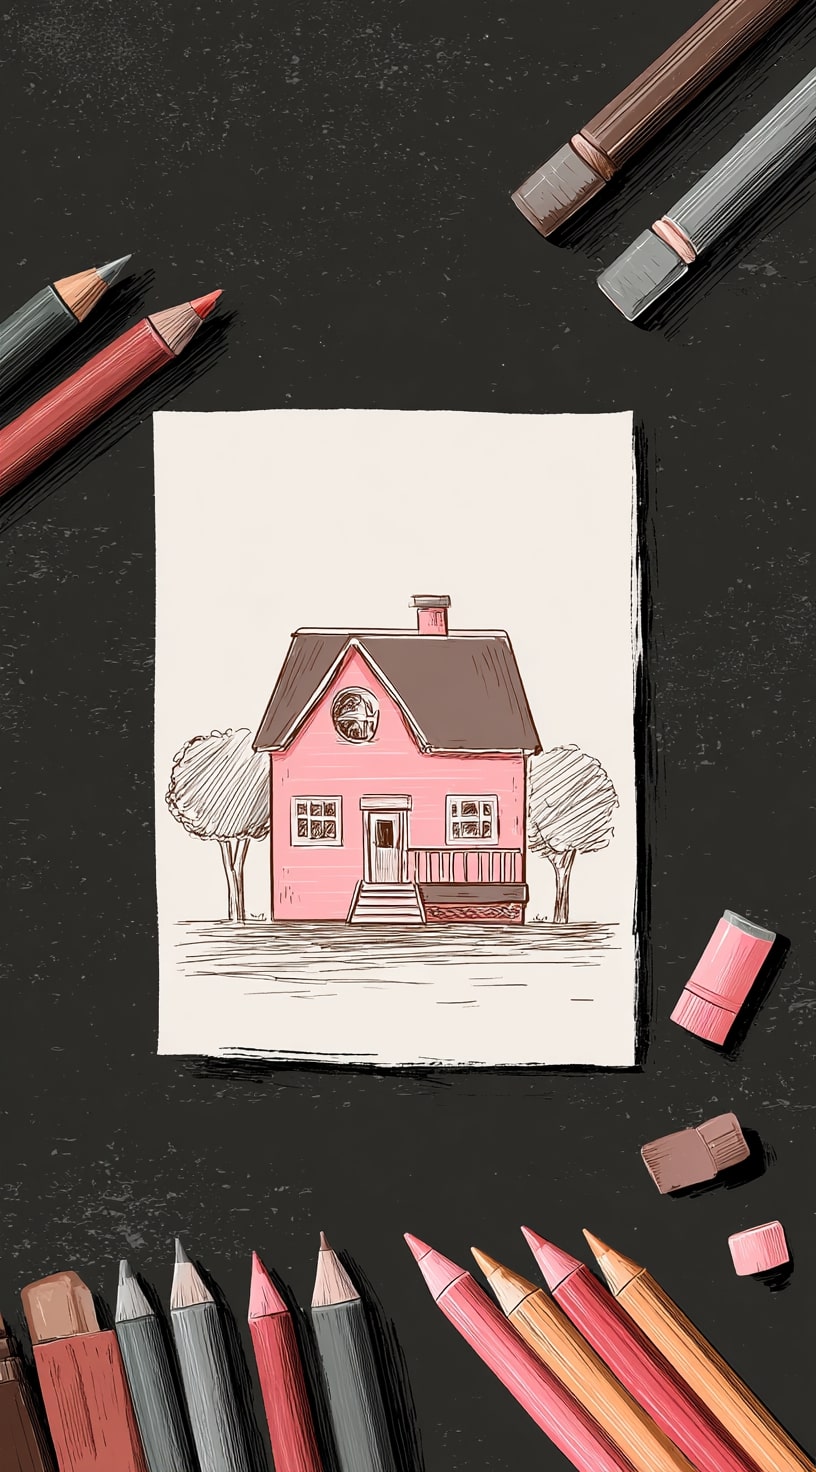
A simple hand-drawn layout sets the tone for your backyard playhouse project. Colored pencils and a clean sketch help turn imagination into something you can build.
Start with shape, roof pitch, and entry points keep it fun but doable. Planning early avoids second-guessing later.
This early draft doesn’t need to be fancy, just honest. Let the charm begin with the first pencil stroke.
Step 2: Gather Your Materials and Tools

Before your first cut, gather every tool you’ll need. This setup includes a circular saw, drill, and bits—essentials for sturdy playhouse construction.
Wood dust and worn handles show signs of real work. Make sure your tools are sharp, charged, and ready.
A good workspace clears your mind and keeps your hands safe. Lay it all out before you begin.
Step 3: Build the Base
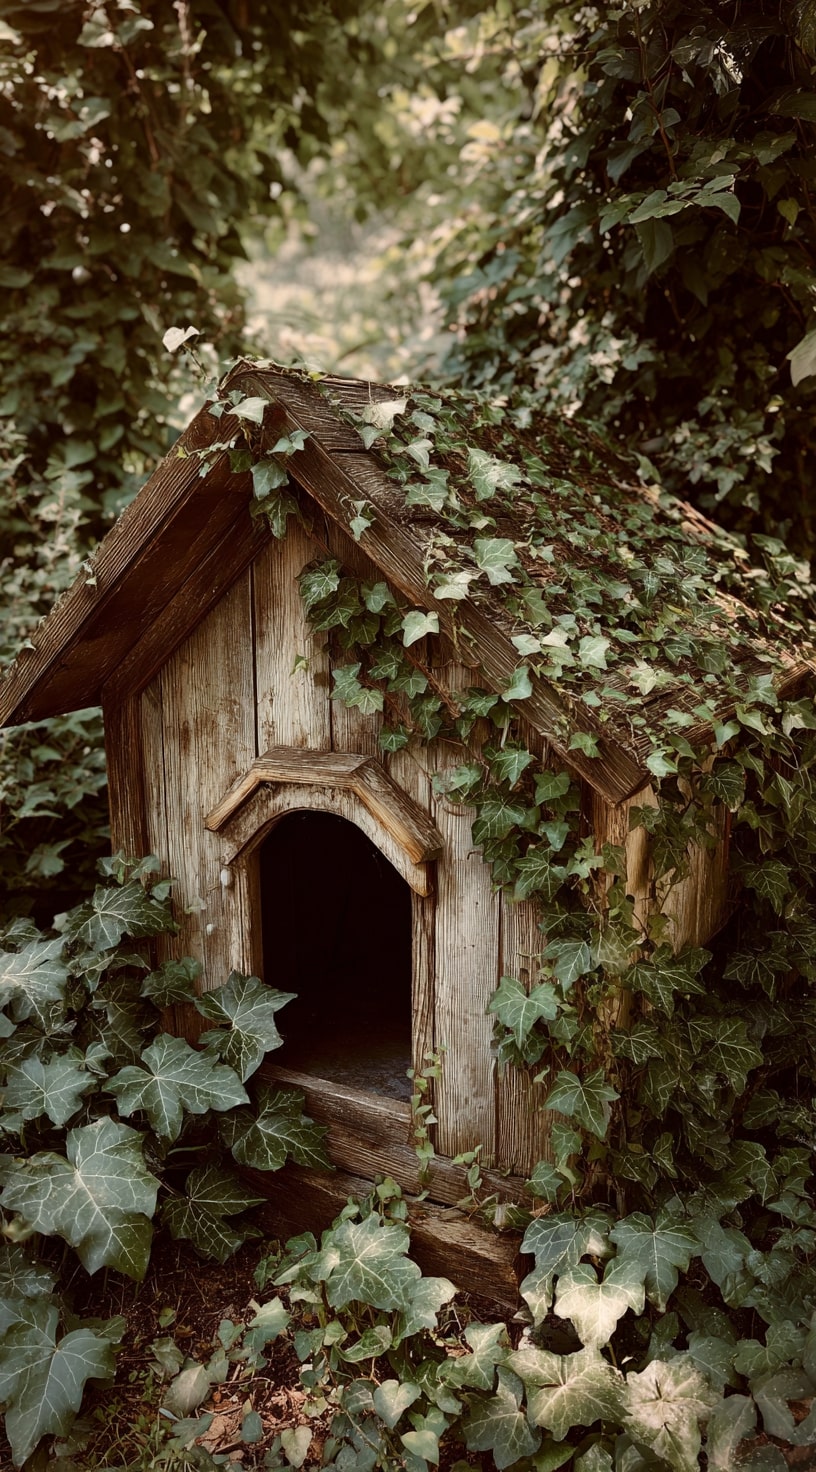
This rustic little house sits low among thick ivy, showing how structure blends with nature. The wooden base stands firm, weathered but sturdy.
Start with a solid frame using treated lumber or reclaimed wood. Stability matters more than shine.
Low placement works well if the ground drains and plants don’t trap moisture. Keep airflow steady to avoid rot.
Step 4: Frame the Walls
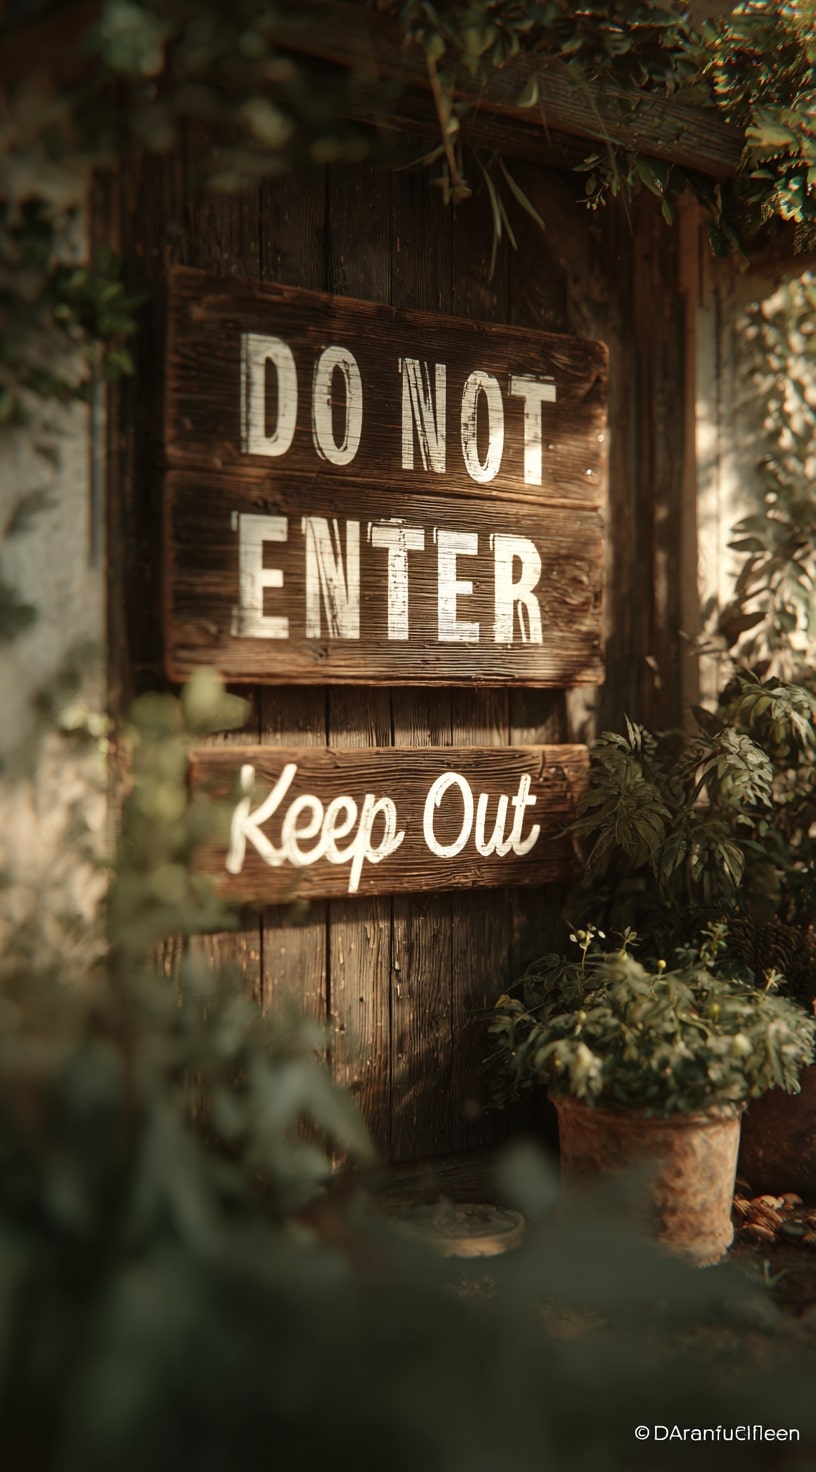
Every clubhouse needs a little attitude. A weathered wooden door with bold “Do Not Enter” signs brings imagination to life in this playhouse build.
Kids love claiming their own space, and a custom sign sets the tone. It sparks creativity before they even step inside.
Use scrap wood, stencils, or freehand paint whatever feels true to their little world. Let them help choose the message.
Step 5: Add the Roof
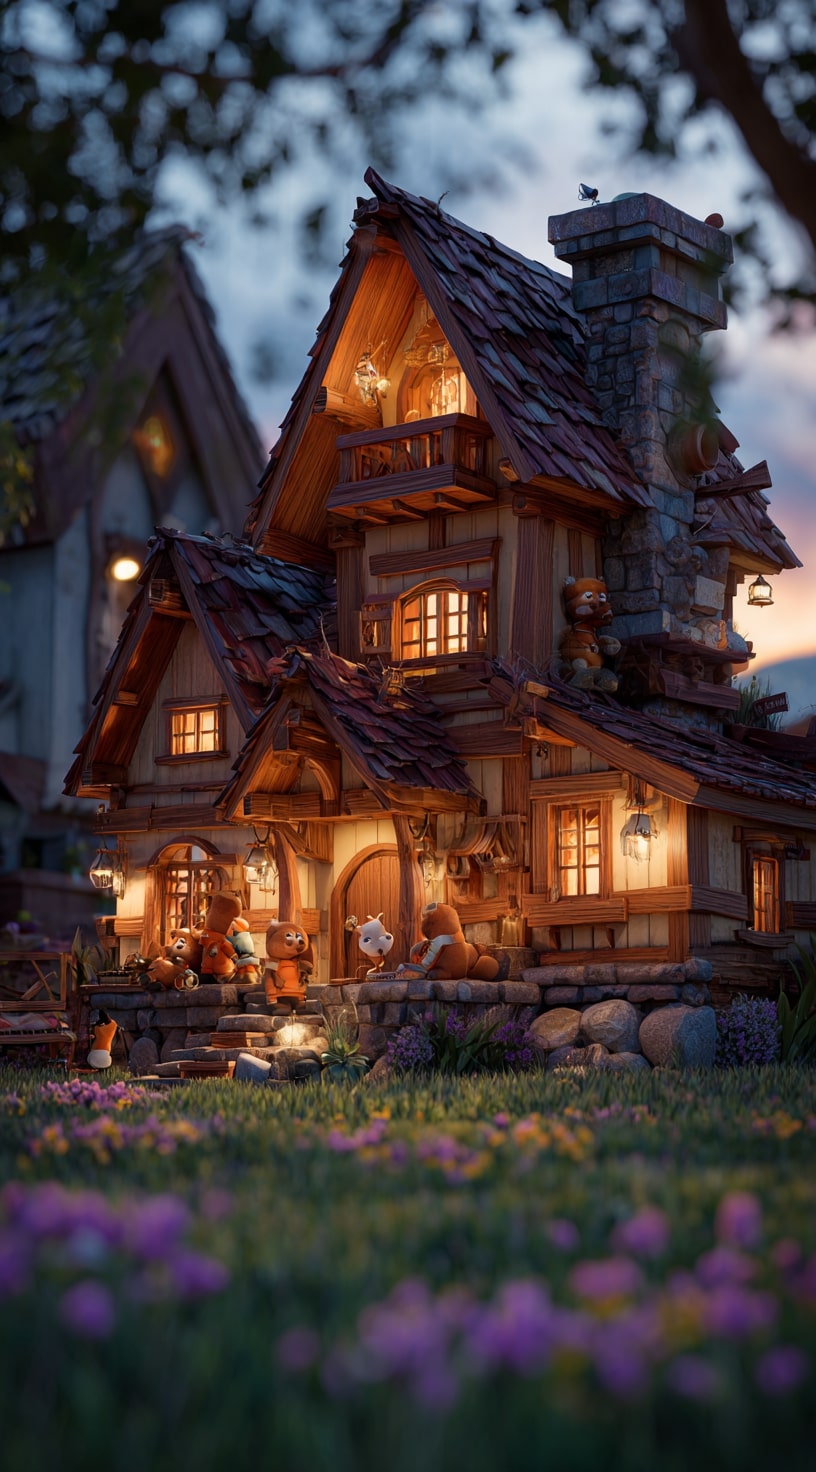
This magical playhouse glows at twilight, crowned with layered shingles and warm window light. A playful roof like this brings charm and character to any backyard build.
Mix wood tones, angles, and cozy details to spark a storybook feel. Each board adds personality.
Finish strong with lights, window boxes, or critter friends on the porch. That’s where memories begin.
Step 6: Install the Door and Windows
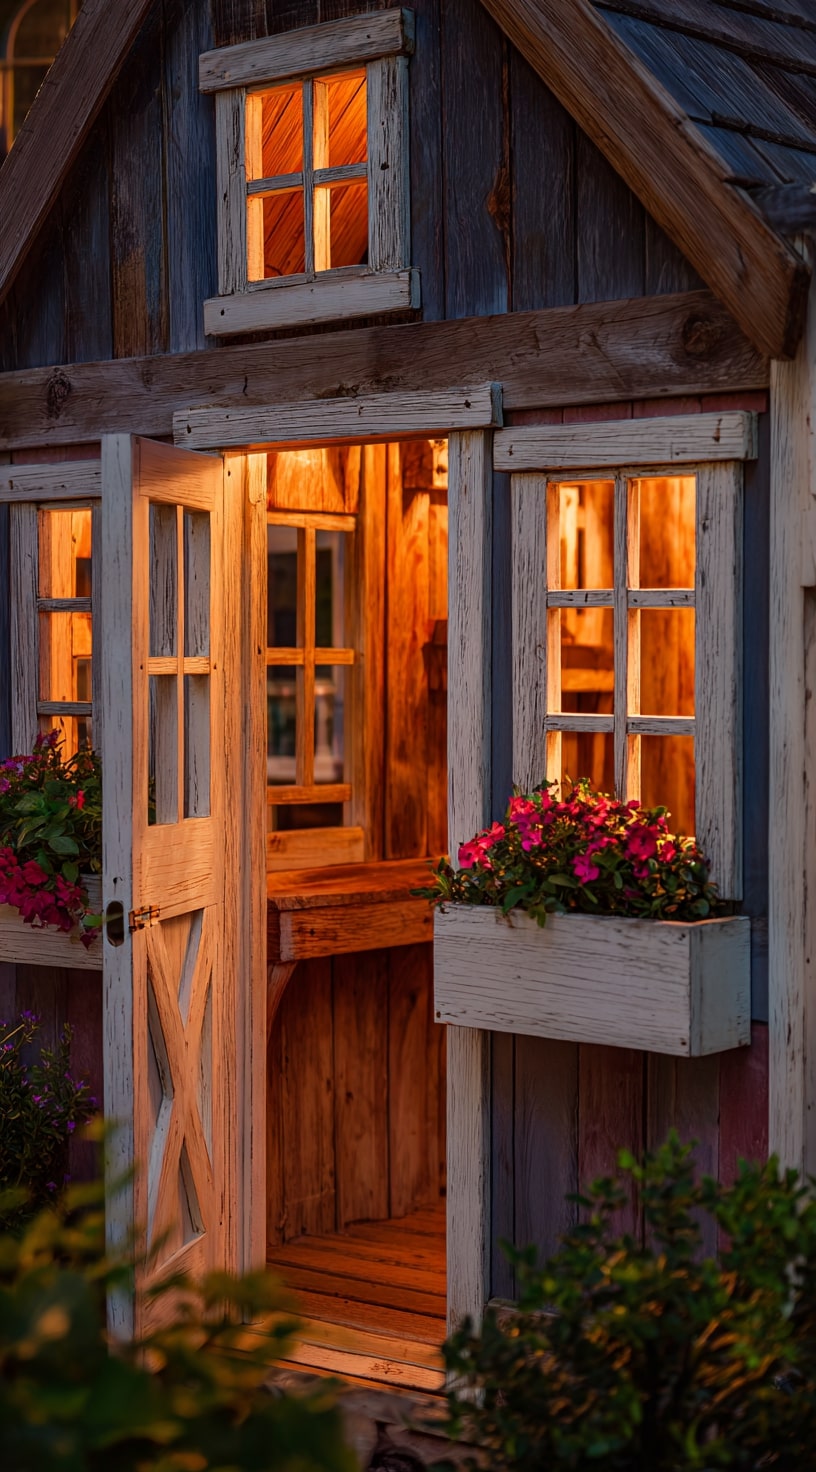
This playhouse glows from the inside out, thanks to soft lighting, rustic wood, and charming details. Open windows and a barn-style door invite kids into their own little world.
Framed flowers add a touch of magic, and light spills through clear panes. Small features make a big difference.
Let your kids help pick colors or handles. That way, it’s theirs from the start.
Step 7: Paint and Personalize
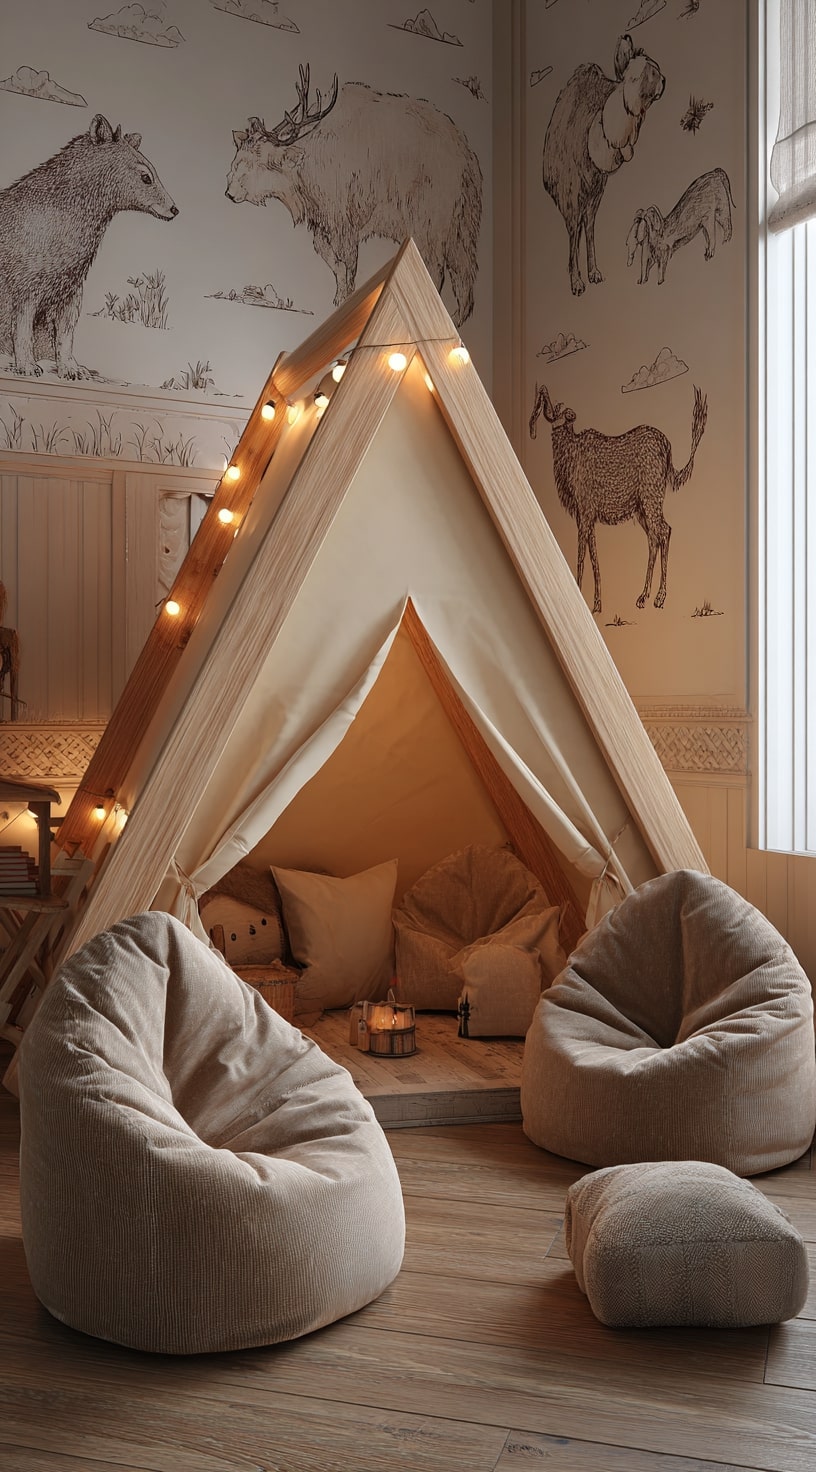
Soft lighting, bean bags, and a wooden-frame tent turn this playhouse into a peaceful indoor hideaway. Earth tones and warm lights create a snug space for reading, resting, or dreaming.
Decor doesn’t have to be fancy just warm and welcoming. Add string lights, books, or floor cushions.
Make it theirs with personal touches. A comfy nook becomes more than just a place it becomes a favorite memory.